
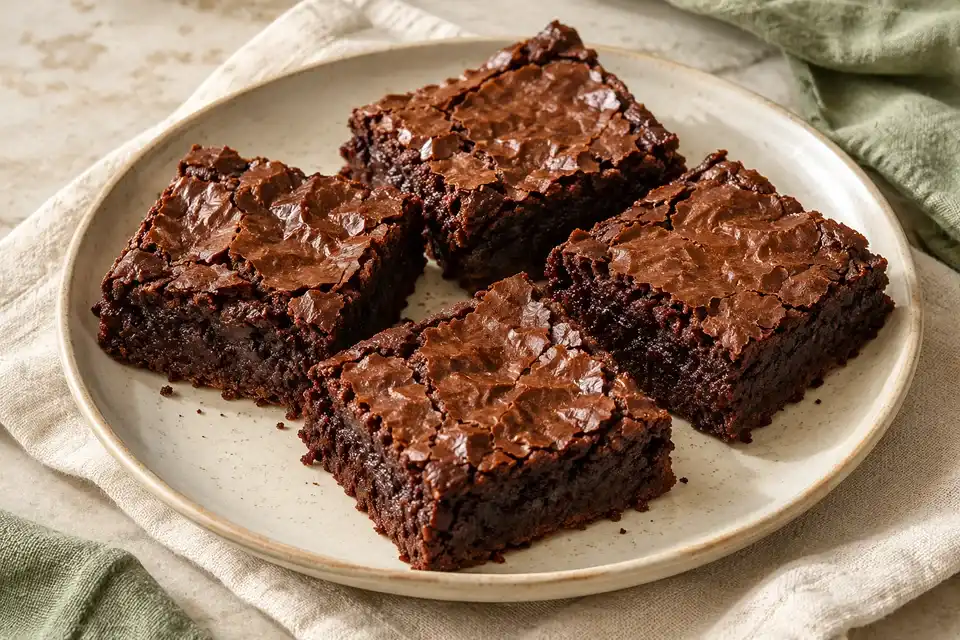
Prepare the tin before mixing batter
Line the twenty-centimeter square tin before you begin the bowl. Leave enough baking paper to help lift the cooled brownies out, while making sure the paper sits reasonably flat against the corners. A different tin size changes the batter depth: a wide tin creates thinner brownies, and a smaller tin produces a thicker center that may need a different baking time. Preheat the oven as directed so the batter enters a ready oven rather than waiting while the temperature rises. Set out the whisk, spatula and sieve, then measure all the ingredients. This organization matters because once the wet mixture is ready, the remaining flour stage should be brief rather than interrupted by searching through cupboards.
Cool melted butter enough for the eggs
The butter should be melted and cooled slightly before mixing, as the ingredient list states. Very hot butter is not a useful starting point for adding eggs. Use a bowl large enough to whisk the ingredients without splashing over the sides. Combine the butter and sugar, then add the eggs and vanilla as directed. The mixture should become even before the dry ingredients enter. If a large amount of butter remains separate around the edge, continue mixing the wet stage rather than assuming the flour will distribute it automatically. Keep raw eggs and utensils used with them separate from ready-to-eat ingredients. Do not taste the uncooked batter, which contains both raw eggs and flour.
Distinguish cocoa powder from sweetened drinking mixes
The recipe calls for unsweetened cocoa powder. A drinking-chocolate mix may contain substantial sugar, milk powder or other ingredients and is not an identical replacement. Check the actual product label rather than relying only on a similar name or color. Sifting cocoa and flour helps remove lumps before they reach the wet mixture, where a dense dry clump can be hard to disperse without excessive stirring. The cocoa contributes much of the flavor, so its type influences the final result. Start with the stated unsweetened ingredient, then note the product used if you want to compare later batches. That gives a clearer basis for adjustment than changing cocoa, sugar and fat simultaneously.
Fold the dry ingredients just until combined
After the wet mixture is smooth, fold in the sifted cocoa, flour and salt with a spatula. Scrape along the bottom and sides so hidden dry patches are included. Stop when there are no visible dry streaks rather than continuing to beat the batter for a long period. This is a different stage from whisking the wet ingredients. The aim is even distribution without unnecessary mixing once the flour is present. If you notice a cocoa lump, break it gently against the side of the bowl and fold again. Adding extra liquid to remove a lump changes the formula and is not the first useful response. Careful sifting and a brief, thorough fold address the problem more directly.
Spread an even layer in the prepared tin
Scrape the batter into the lined tin and smooth it toward the corners. An uneven mound can produce a thin, overbaked edge on one side and a thick, underbaked patch on another. A spatula helps create a consistent depth without needing to repeatedly tap or shake the tin. Keep the tin level when moving it to the oven. If you add chocolate pieces or nuts as a variation, their quantity and distribution may affect the texture and allergen profile, so do not treat them as invisible changes. For the first attempt, use the plain version as written. It provides a useful reference for judging the bake, particularly when you are learning how your oven behaves with this tin.
Interpret the center check carefully
The method asks for set edges and a skewer that comes out with moist crumbs rather than wet batter. A completely clean skewer is not the only useful sign for this brownie texture and may lead you to bake longer than intended. At the same time, liquid batter in the center is not the desired finish. Check a representative central area rather than only a corner, and inspect the edges. Oven position, tin material and batter depth affect timing, so use the stated interval as a guide. If the edges are becoming very firm while the center remains unusually wet, consider whether the tin is too small or the oven heat uneven rather than automatically adding a long extra bake.
Cool before attempting clean squares
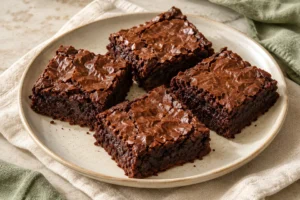
The cooling stage gives the brownies time to firm enough for cutting. Cutting directly from a very hot tin can turn a reasonable bake into broken, smeared pieces that are difficult to judge. Place the tin on a suitable cooling surface and follow the minimum rest in the method. Use the paper to lift only when the slab can support itself, then place it on a board. A clean sharp knife is useful for nine squares, and wiping the blade between cuts can reduce dragging. The squares do not need perfect bakery edges to be successful. The important distinction is between normal soft crumbs and a center that remained raw because the baking checks were not completed.
Keep portion changes separate from formula changes
Cutting the slab into smaller squares changes serving size without altering how the batter bakes. Scaling the entire recipe requires an appropriate tin and careful attention to batter depth. Doubling the ingredients in the original tin can produce a much thicker center and is not simply a matter of doubling the oven time. Two separate tins may be more predictable. Replacing sugar, flour or eggs can change the structure significantly, so use a formula designed for a necessary dietary change rather than assuming a direct substitution. The written recipe contains wheat, milk and eggs. Added nuts, dairy-free products or alternative flours should be assessed individually for both baking behavior and relevant allergens.
Store the cooled brownies with realistic expectations
Allow the brownies to cool appropriately, then follow the storage guidance below and use a suitable covered container. Separate layers if they are likely to stick together, and label portions intended for later use. Freezing individual squares can make it easier to take only the quantity needed, but use a safe thawing plan and expect some texture change. Rewarming a square is an optional serving choice rather than a way to repair unsafe storage or a raw center. If serving with an accompaniment, check that product's ingredients as well. A brownie presented with ice cream has a different complete serving from the plain square, even though the underlying baked recipe has not changed.